Film development and scanning glossary
This glossary explains the words you meet when you develop film at home, scan it with a camera and convert the scans into photos. Each entry is short and links to the guide that covers the subject in full.
Film and processes
Film base. The clear plastic layer that carries the emulsion: orange on colour negative film, clear or slightly grey on black and white film. When you convert film negatives, the bare base between frames or in the rebate serves as a reference.
Emulsion. The light-sensitive layer on the film base: silver halide crystals held in gelatin. Colour films stack several emulsion layers, one for each primary colour. The emulsion is soft while wet, so let the film dry before you touch it.
Silver halide. The light-sensitive crystals in the emulsion. Light leaves an invisible latent image on them, the developer turns the exposed crystals into black silver, and the fixer removes the rest, as you can see when you develop black and white film.
Grain. The visible texture of a film image: clumps of silver in black and white film, or clouds of dye in colour film. Faster films and push processing show more of it.
Cubic grain and tabular grain. Two crystal shapes. Classic films such as Kodak Tri-X and Ilford HP5+ use traditional cubic crystals; tabular-grain films such as Kodak T-Max and Ilford Delta use flat ones, which take longer to fix and matter when you choose a monobath.
Box speed. The ISO speed printed on the film box. You can expose film at another speed, called the exposure index, and change the development to match.
Latitude. How far from the correct exposure a film can be and still give a usable picture. Colour negative film has a lot of latitude and slide film has little, which is why thin and dense negatives can often still be saved.
Colour negative film. Film that records the scene with tones and colours reversed, in dyes, on an orange base. It is developed in the C-41 process, and you convert the scans to get positive photos.
Slide film. Also called reversal or transparency film. It gives a positive image on the film itself, developed in the E-6 process, and you scan it with a camera like a negative, without the inversion.
Orange mask. The orange-brown colour of the base of colour negative film. It is built in on purpose, to correct colour errors in the dyes, and a conversion has to remove it before the colours look right: see invert colour negatives in Photoshop.
Rebate. The strip along each edge of the film, outside the picture. On 35mm it holds the sprocket holes and the edge markings, such as frame numbers and the film name. Clear rebates with readable markings show that development worked.
C-41. The standard process for colour negative film. A colour developer at about 38 °C comes first, then a bleach and a fixer, or one combined bleach-fix, and a final rinse: see develop colour film.
E-6. The standard process for colour slide film. A first developer makes a black and white negative, a reversal bath and a colour developer build the positive dye image, and bleach and fixer remove the silver: see develop slide film.
ECN-2. The process for motion picture colour negative film, such as Kodak Vision3. These films carry a rem-jet backing, which must come off before the film goes into normal C-41 chemistry.
Rem-jet. A black carbon backing on motion picture camera film, which labs remove in an alkaline pre-bath. CineStill’s colour films are sold without it, so they develop in C-41 with other films.
Development
Data sheet. The maker’s technical document for a film or a chemical. It gives the times, temperatures, dilutions, agitation, capacity and storage life, and it is the first place to look when you develop film.
Developer. The chemical that turns exposed silver halide into silver. A one-shot developer is diluted, used once and discarded; others can be reused with a longer time for each roll.
Dilution. How much water to add to a concentrate. Most makers write 1+4 for one part concentrate and four parts water, while Kodak’s charts write 1:200 for one part to 200 parts water. Develop black and white film has a worked example.
Changing bag. A light-tight fabric bag with two sleeves. You load the film onto a reel inside it, so you do not need a darkroom.
Agitation. Moving the solution in the tank, by turning the tank over (inversion) or rotating it, to bring fresh chemistry to the film. More agitation gives more development, so use the same pattern every time. Rotary processors agitate without stopping.
Bromide drag. Streaks of uneven density that run from dense areas, such as the sprocket holes, when the solution stands still for too long. CineStill warns about it when a tank of Df96 monobath stands for more than a minute.
Stand development. Development in a very dilute developer, with little or no agitation, over a long time. It can give strong edge effects, but it also risks bromide drag and uneven skies: try it on a roll that does not matter, as the black and white guide suggests.
Push and pull processing. Pushing means rating a film at a higher speed than its box speed and developing it longer, which raises contrast and grain. Pulling means rating it lower and developing it shorter. Either way, rate the whole roll the same.
Stop bath. A weak acid bath after the developer that ends development at once and protects the fixer. Ilford’s Ilfostop is diluted 1+19 and used for at least 10 seconds; plain water also works, as the black and white guide explains.
Fixer. The bath that dissolves the silver halide the developer did not use, so the film no longer reacts to light. Film that was not fixed long enough looks milky or purple.
Clearing time. How long a fixer takes to make a snip of undeveloped film leader clear. Ilford recommends fixing for at least twice that time, and replacing the fixer when the clearing time is double what it was when fresh: see develop black and white film.
Monobath. A single solution that develops and fixes black and white film. Development and fixing race each other, so temperature and agitation, not time, set the result: see monobath developers compared.
Reticulation. A fine, crackled pattern in the emulsion, caused by a sudden change of temperature between baths. Keep every bath close to the developer temperature.
First developer. The first and most critical bath in E-6. It makes a black and white negative image, so it decides how light or dark every slide will be: see develop slide film.
Reversal bath. The E-6 step after the first developer. It makes the silver halide that the first developer did not use ready for the colour developer, which builds the positive image from it.
Bleach and bleach-fix. In colour processes, the bleach turns the developed silver back into silver halide, so the fixer can remove it and only the dye image stays. A bleach-fix, or blix, does both jobs in one bath, as in most home C-41 kits.
Stabiliser and final rinse. The last bath in a colour process. Older stabilisers held formaldehyde; CineStill says modern films do not need it, and a final rinse with a wetting agent helps the film dry clean.
Wetting agent. A surfactant you add to the final rinse, such as Ilford Ilfotol or Kodak Photo-Flo, both at 1+200. It lets the water run off the film evenly instead of drying in drops: see dry film without water spots.
Water spots. Round marks left where drops of water dried on the film, mostly from minerals in hard water. A final rinse in distilled water with a wetting agent prevents them.
Density
Density. How much light a part of the film blocks, on a logarithmic scale: a density of 1.0 lets 10% of the light through, and 2.0 lets 1% through. On a negative, bright parts of the scene are dense, and a whole roll can come out thin or dense.
D-min. The lowest density on a piece of film. On a negative it is the unexposed film between frames; on a slide it is the clearest highlight. See thin and dense negatives.
D-max. The highest density on a piece of film. On a negative it is the brightest highlight in the scene; on a slide it is the deepest shadow, which makes slides hard to scan in one exposure.
Base + fog. The density of film that was developed but never exposed: the base itself plus a little fog from development. A thin negative has little density above base + fog, and that is where shadow detail is lost.
On a negative, the brightest part of the scene is the densest part of the film (D-max). The clear film between frames shows the base: orange on colour negative film, nearly clear on black and white.
Scanning
Macro lens. A lens designed to focus very close, with a flat field, so the frame is sharp from centre to corners. Many reach 1:1 magnification, and it is the usual choice when you scan film with a camera.
Magnification. The size of the image on the sensor compared with the size of the subject. At 1:1, a 36x24 mm frame of 35mm film exactly fills a 36x24 mm full-frame sensor; larger formats need less magnification, or several shots.
Light source. The panel or lamp behind the film when you scan it with a camera. It must be even across the frame and have a full, smooth spectrum, which matters most for colour film: see scan film with a camera.
CRI. Colour rendering index: a score, up to 100, for how faithfully a light shows colours compared with a reference light. A high CRI is a good sign in a scanning light for colour film.
Film holder. A carrier that holds film flat and square to the camera and masks the light around the frame. It is the part of a camera scanning setup that most affects sharpness and flare.
Newton rings. Rainbow-coloured rings that appear where film touches smooth glass, caused by light interference in the thin air gap between them. See Newton rings when scanning film.
ANR glass. Anti-Newton-ring glass. Its surface has a very fine texture that breaks up the even air gap that causes Newton rings.
Stitching. Shooting a large negative in several overlapping parts and merging them in software, for more resolution than one shot gives. It is common for 4x5 film.
RAW. The camera’s unprocessed sensor data. It keeps more tonal information than a JPEG and lets you set the white balance afterwards, which is why it suits film scans: see exposure for film scans.
Bit depth. The number of tone levels per colour channel: 256 in an 8-bit file and 65,536 in a 16-bit file. More levels leave room to stretch a flat scan without banding.
Histogram. A graph of how many pixels sit at each brightness, from black on the left to white on the right. A spike pressed against either edge means clipped tones: see exposure for film scans.
ETTR. Expose to the right: make the capture as bright as possible without clipping, so the histogram sits near its right edge. It gives the cleanest data from the sensor, as exposure for film scans explains.
Curl. The tendency of film to bend along or across its length after drying. Curled film is hard to hold flat and in focus: see flatten curly film.
Dust and scratches. Specks and lines on the film that show up as white or black marks in a scan. Prevention starts while the film dries: see dust on film scans.
Conversion
Conversion. Turning a scan of a negative into a positive photo: inverting the tones, removing the orange mask from colour film, and setting the end points and contrast. See convert film negatives, or convert black and white negatives for black and white film.
Black point. The tone in a scan that becomes pure black. Set it too low and the shadows look grey and hazy; set it too high and shadow detail is lost, as flat film scans shows.
White point. The tone in a scan that becomes pure white. Take it from the picture, not from the film border, or the highlights look dull: see flat film scans.
Tone curve. A curve that maps input tones to output tones. Its shape sets the contrast in the shadows, midtones and highlights, and it is the main tool to fix a flat scan.
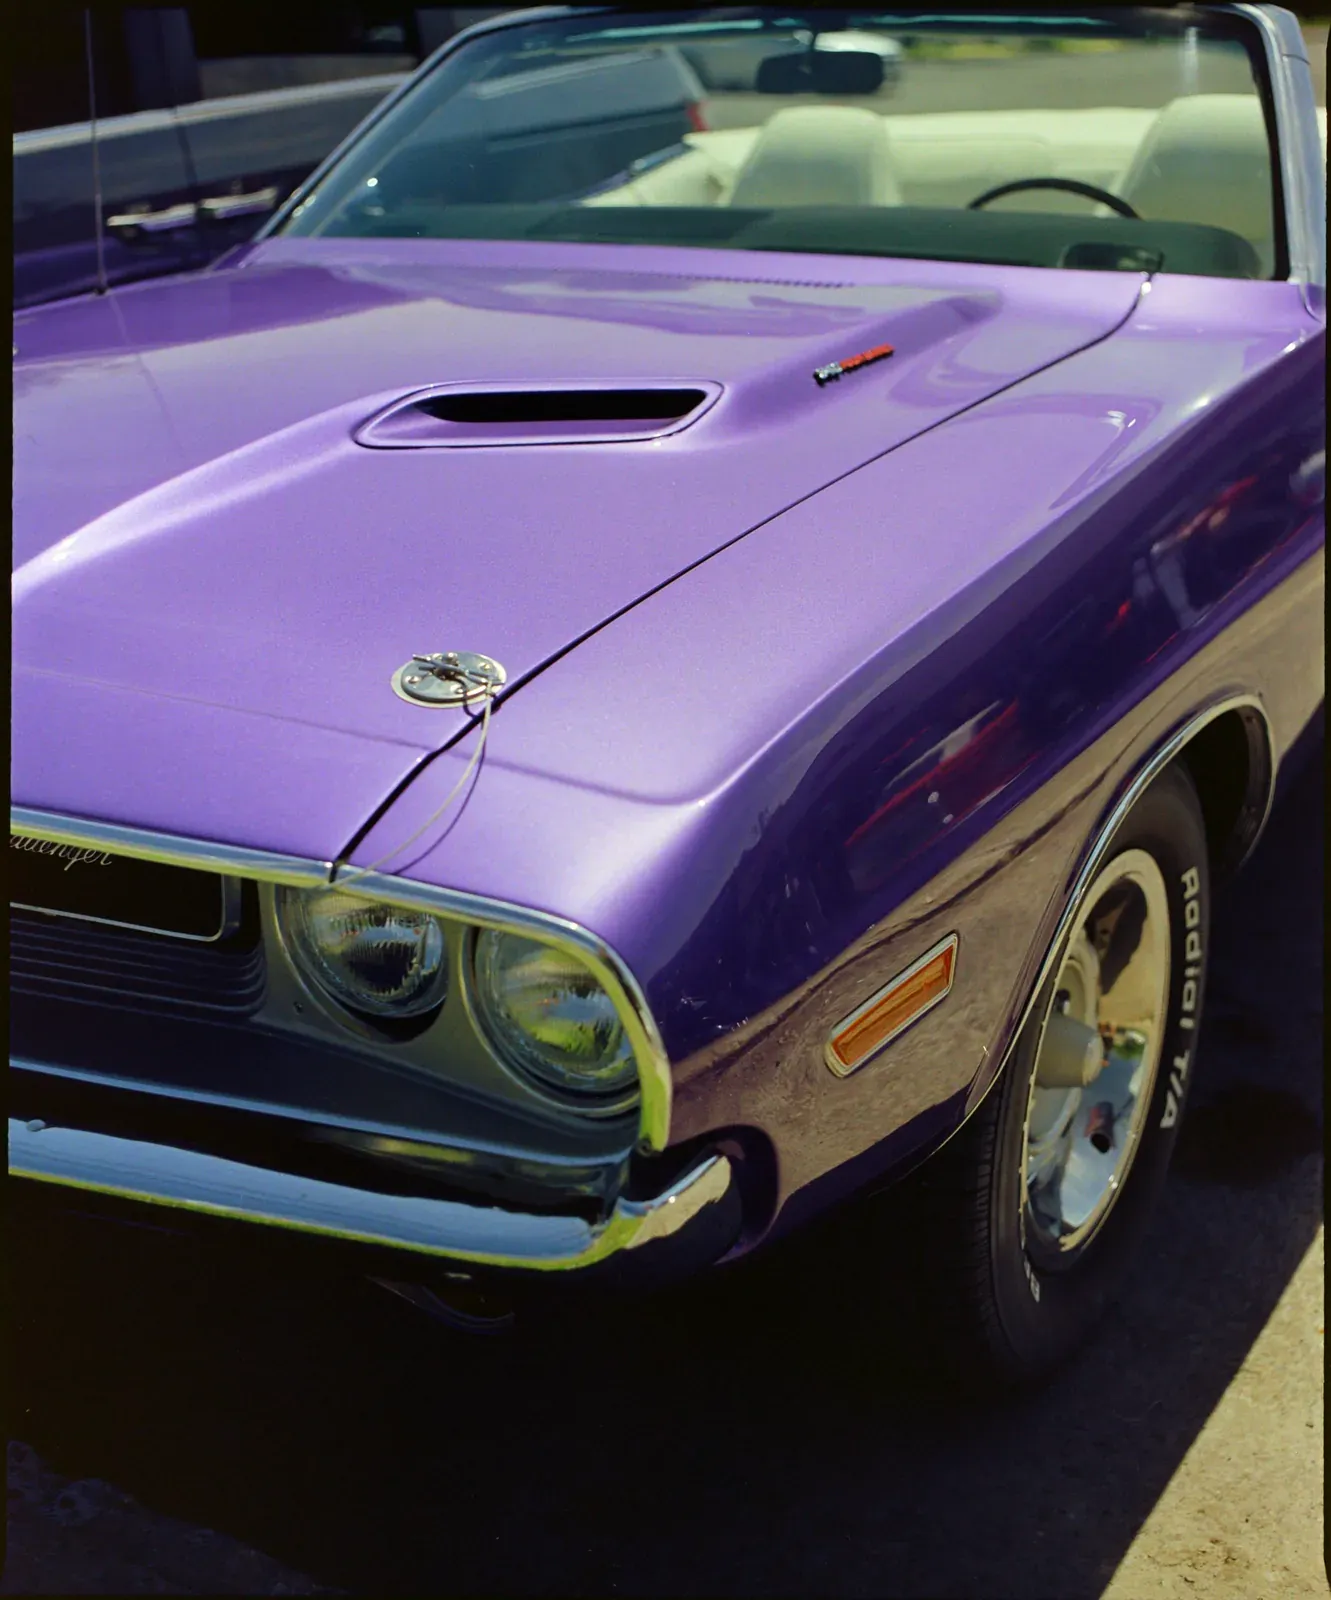
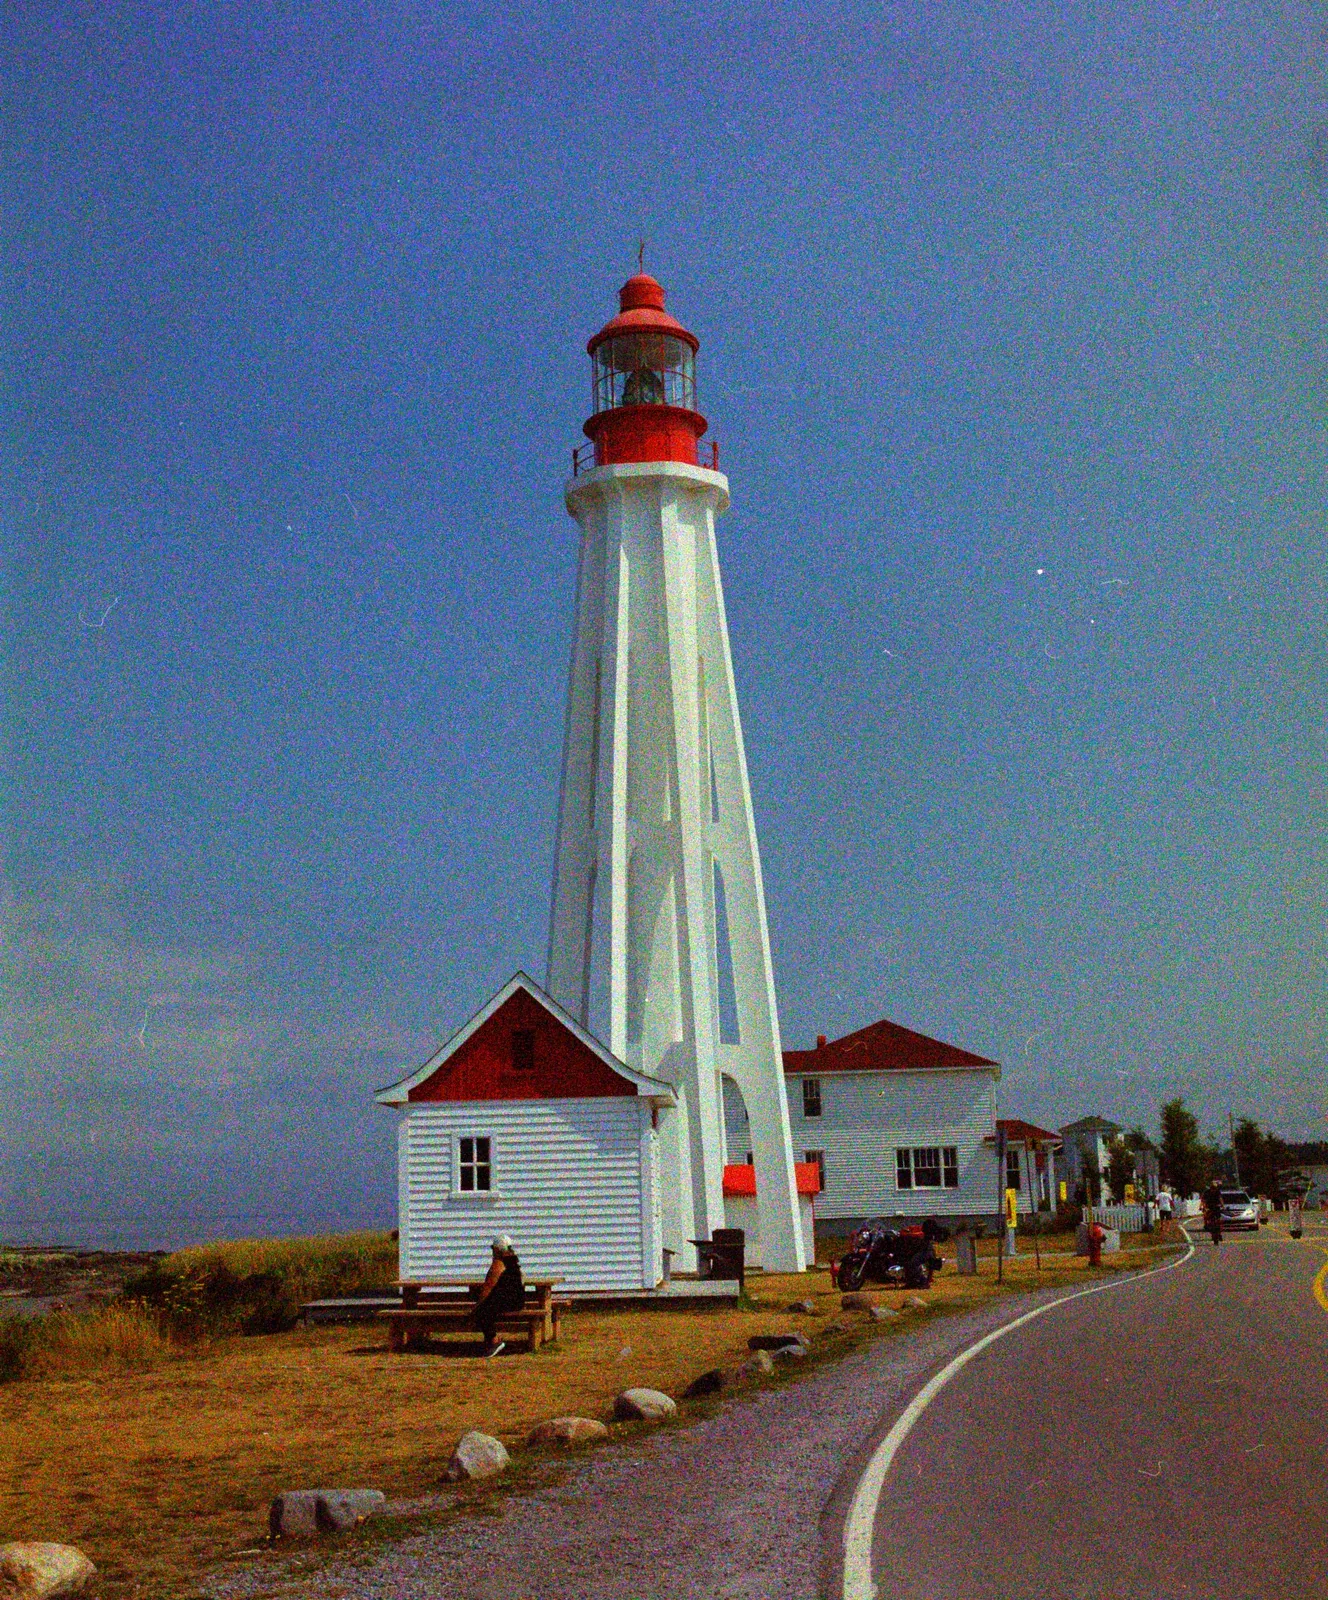
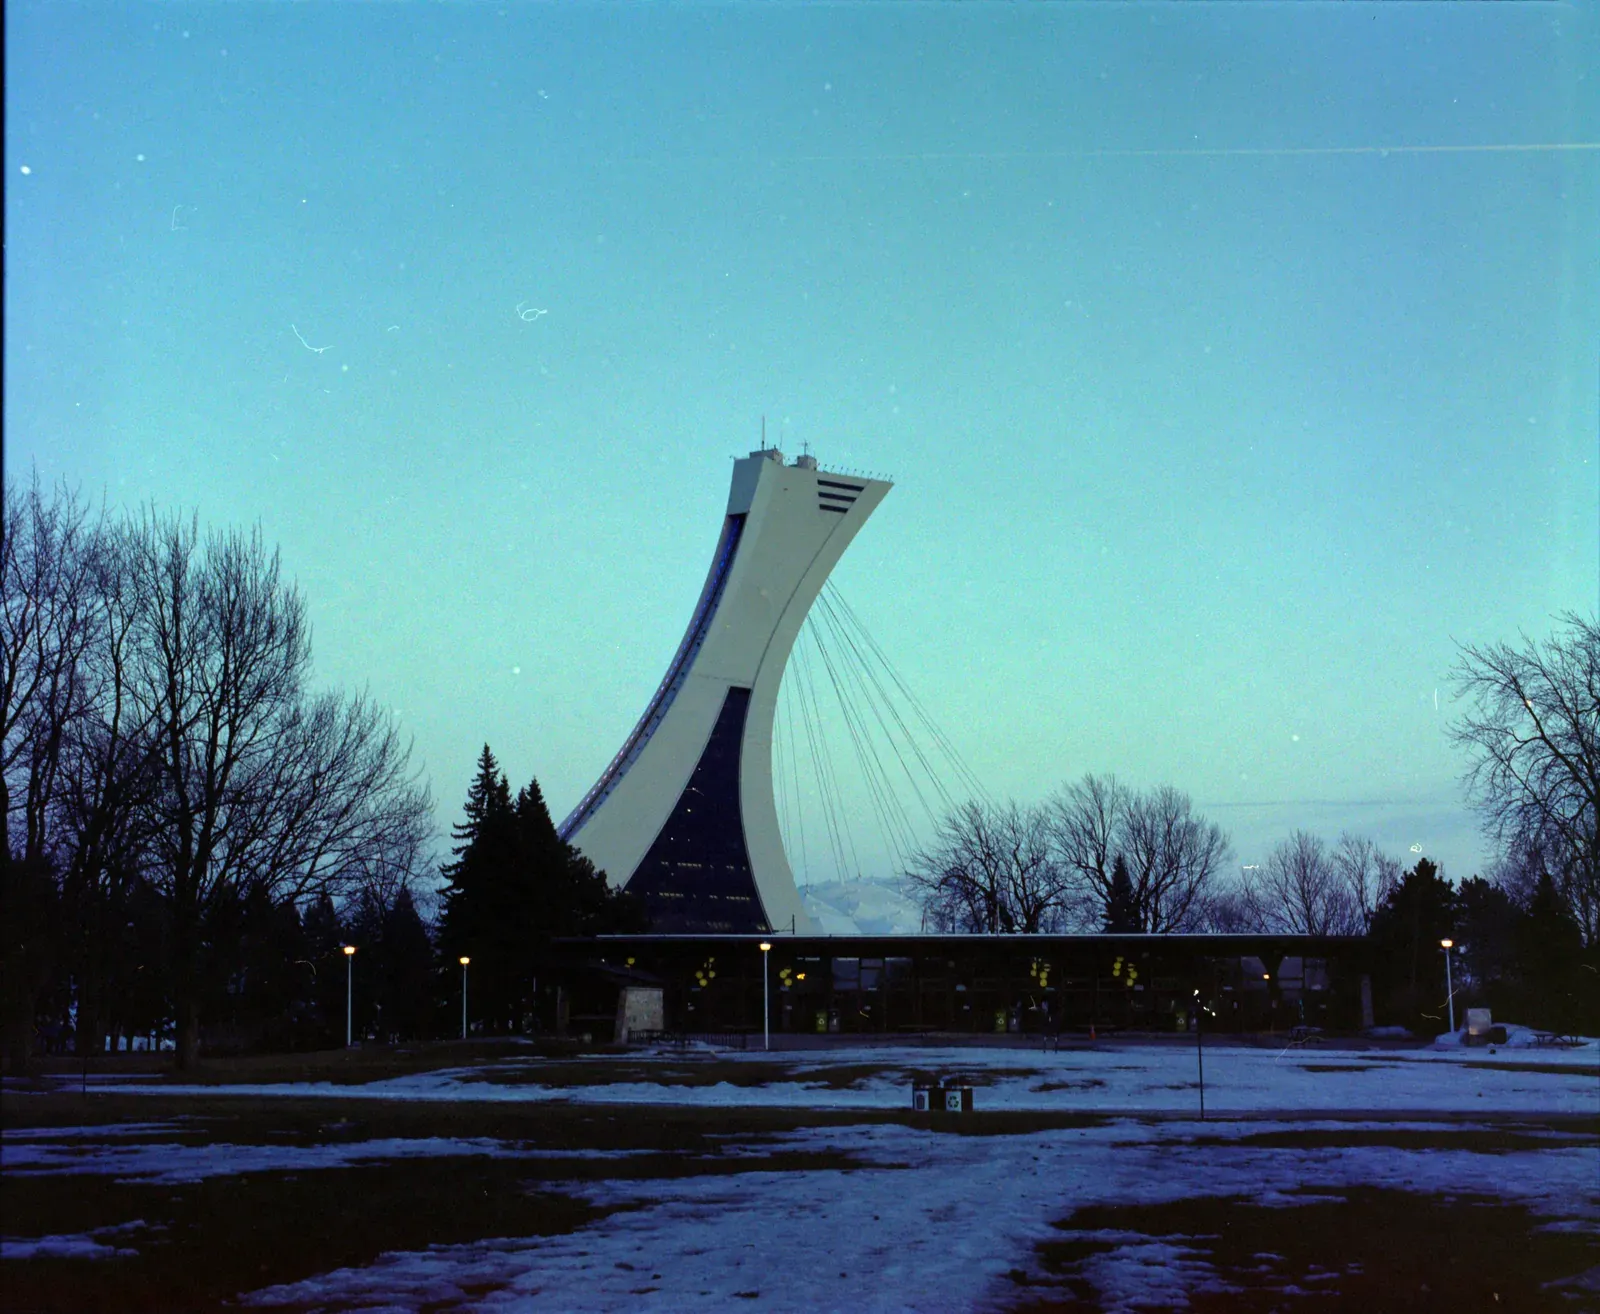
Three tone curves from Monobath, each on a different frame. The dashed line is no change. Where the curve runs below it, that tone gets darker; above it, lighter. Where the curve is steeper, contrast is higher.
Colour cast. A tint over the whole image, such as green or magenta. One white balance correction usually removes it: see colour casts in film scans.
Colour crossover. A colour cast that changes with brightness, such as cyan shadows with magenta highlights. One white balance cannot fix it, because each colour channel needs its own correction.
16-bit TIFF. A lossless image file with 16 bits per colour channel. It is the best format to keep a converted scan in for further editing: see convert negatives on a Mac without Lightroom.