How to develop black and white film at home
To develop black and white film at home, you load the film onto a reel inside a light-tight tank, in a changing bag. Then, in normal room light, you pour in developer, stop bath and fixer in turn, at about 20 °C and for the times on the data sheets, and you wash and dry the film. You do not need a darkroom: only the loading happens in the dark.
What you need
Equipment:
- A developing tank with reels. Plastic reels with an adjustable width take both 35mm and 120. Stainless steel reels are very durable but take more practice to load.
- A changing bag, or a room you can black out completely.
- A thermometer you trust. The developer temperature is the one number that matters most.
- Measuring cylinders. Ilford suggests a 50 ml cylinder for concentrates and a 300 ml or 600 ml one to make up solutions.
- A timer, a stirring rod and a funnel.
- Bottles with clear labels, one per chemical. Ilford suggests a different colour for each, because a trace of fixer in the developer can ruin the next film.
- A cassette opener and scissors for 35mm.
- Film clips: one for the top and a weighted one for the bottom of each strip.
- Gloves and eye protection.
Chemistry:
- Developer. Liquid concentrates are the easiest to start with: you dilute what you need and mix nothing in advance. Powder developers such as Ilford ID-11 or Kodak D-76 cost less per roll but you mix a full batch at once.
- Stop bath, or plain water.
- Fixer. A non-hardening rapid fixer such as Ilford Rapid Fixer suits all modern films.
- Wetting agent, such as Ilford Ilfotol or Kodak Photo-Flo, for the final rinse.
- Distilled or deionised water for the final rinse, if your tap water is hard.
Ilford and Paterson sell starter kits with a tank, cylinders and the four chemicals. They save you from buying the pieces one by one.
Where development times come from
A development time is only valid for one film, in one developer, at one dilution, one temperature and one agitation pattern. Change any of these and the time changes.
- The developer data sheet lists times for common films. Ilford, Kodak, Adox and the other makers publish one for each developer.
- The film data sheet lists times for that film in common developers. When the two sheets disagree slightly, either is a fair start.
- The Massive Dev Chart, run by Digitaltruth at digitaltruth.com, is a free database of film and developer times. It mixes times from maker data sheets with times that users send in, so read the notes column, and prefer the data sheet when the two disagree.
Treat any published time as a starting point. Harman says this in its own data sheets: the times are a guide, and you may need to adjust them to your own equipment and working habits. If your negatives come out too dense and contrasty, shorten the time on the next roll. If they come out thin and flat, and the exposure was right, lengthen it.
Some developers are one-shot: you dilute them, use them once and discard them. Others, used at stock strength, can process several rolls if the data sheet gives a time increase for each roll. One-shot is simpler and more consistent, so start there.
Load the reel in a changing bag
This is the only step in the dark, and the only one that is hard the first time. Ilford’s advice is to practise in daylight with a scrap roll, then with your eyes closed, before you load a real film. The reel must be completely dry, or the film sticks in the grooves.
Put everything in the bag before you start: the tank body, its centre column and lid, the reel, the film, the cassette opener and the scissors. Then zip it closed and put your arms in.
35mm film
- Lever the cap off the cassette with the opener and slide the spool out.
- Cut off the shaped leader so the film has a square end.
- Find the two lugs at the entry of the reel. Push about 5 cm of film into the first channel, between the lugs.
- Turn the two sides of the reel back and forth. The reel ratchets the film into the spiral.
- At the end of the roll, cut the film off the spool and give the reel a few more turns.
- Put the reel on the centre column, put it in the tank and close the lid firmly. The film is now light-safe, and you can take the tank out of the bag.
If the film leader is still out of the cassette, you can cut it square and start it on the reel in daylight. Only the part you exposed must go on in the dark.
120 film
- Break the paper seal and unroll the backing paper until the film starts.
- Separate the film from the paper as you go. At the far end, tape holds the film to the paper: pull the tape off the paper, or cut the film just before it.
- Start the square end of the film in the reel, holding it by the edges, and wind it on as for 35mm.
120 film is wide and thin, so it bows if you squeeze it. Hold it gently by the edges. A changing bag gets warm and humid after a few minutes, and damp film sticks on the reel, so work at a steady pace and keep your hands dry.
Push the square end of the film between the lugs and about 5 cm into the first channel. Then turn the two sides of the reel back and forth, and the reel ratchets the film into the spiral.
Mix the chemistry and set the temperature
Makers write dilutions as 1+4: one part concentrate plus four parts water. Ilford’s own example for one 35mm film is 60 ml of developer concentrate and 240 ml of water, which makes 300 ml at 1+4. Your tank’s instructions give the volume each reel needs. Make enough to cover the reel completely.
20 °C is the standard temperature for black and white development. Mix warm and cold water until the diluted developer reads 20 °C, and check it again just before you pour. Ilford recommends that the stop bath, fixer and wash water stay within 5 °C of the developer. In a cold or hot room, stand the bottles in a bowl of water a little warmer or cooler than your target.
You can develop at other temperatures. Data sheets include a chart that converts the time. In Ilford’s example, a time of 12 minutes at 20 °C becomes 8½ minutes at 23 °C and 17 minutes at 16 °C.
Develop, stop, fix, wash and rinse
Ilford’s standard sequence for a hand tank, with Ilford chemicals:
- Develop. Pour in the developer quickly and start the timer when the tank is full. Fit the cap. Invert the tank four times in the first 10 seconds, then four times in the first 10 seconds of every minute. Tap the tank on the bench after each set of inversions to knock air bubbles off the film. Pour out the developer when the time ends.
- Stop. Pour in Ilfostop, diluted 1+19, at about 20 °C. Invert twice and pour it out after at least 10 seconds. A rinse of plain water also works, but change the water each time.
- Fix. Pour in Ilford Rapid Fixer, diluted 1+4. Agitate as for development. Ilford gives 2 to 5 minutes at 20 °C, depending on the film. A little longer does no harm. Pour the fixer back into its bottle: you reuse it.
- Wash. Take the lid off. Wash in running water for 5 to 10 minutes, within 5 °C of the other baths. Or use Ilford’s water-saving method: fill the tank and invert it 5 times, drain; fill and invert 10 times, drain; fill and invert 20 times, drain.
- Final rinse. Fill the tank with water that holds a wetting agent. Ilford recommends 5 ml of Ilfotol per litre (1+200) as a start. Kodak gives 1+200 for Photo-Flo 200, for 30 seconds at 18 to 21 °C. Do not shake the tank: wetting agent foams.
- Dry. Clip the top of the film to a line, put a weighted clip at the bottom, and let it dry in a still, dust-free place. Dry film without water spots covers this step in detail.
Other developers and fixers have their own times and dilutions. The sequence stays the same.
Temperature and agitation
The developer works faster when it is warmer, and faster when you agitate it. Both settings change the density and contrast of the negative, which is why the data sheet time only holds at its own temperature and agitation pattern.
- Hold the developer temperature. One or two degrees off changes the result a little. Several degrees off, without a time correction, changes it a lot.
- Agitate the same way every time. More agitation gives more density and contrast. Too little, or none for a long stretch, can give uneven development and streaks. Makers use different patterns, so use the pattern that goes with the time you chose.
- Avoid big temperature jumps between baths. A sudden change can crack the emulsion into a fine pattern called reticulation. Keep every bath close to the developer temperature, as Ilford recommends.
- Rotary processors turn the tank all the time. Check the data sheet for times or corrections for rotary processing.
Stand development is the extreme case: a very dilute developer, left almost without agitation for a long time. Some people like the edge effects it gives. It also risks streaks and uneven skies, and most data sheets do not give stand times, so try it on a roll that does not matter.
Push and pull processing
To push a film, you rate it at a higher speed in the camera, for example ISO 400 film at ISO 1600, and develop it longer to compensate. Pushing gives more contrast and more grain. To pull, you rate it lower and develop it shorter, which gives softer contrast. Data sheets give push and pull times for many films. Ilford’s advice: rate the whole roll at the same speed, because you cannot develop part of a roll differently.
Reuse and store your chemistry
- Developer. Use one-shot dilutions once. Keep concentrates in full, tightly closed bottles, away from heat and light. Air is what kills developer, so a half-empty bottle ages faster.
- Stop bath. You can reuse it. Ilfostop contains a dye that turns from yellow to purple when the bath is exhausted. Ilford rates it at 15 rolls of 135-36 per litre of working solution.
- Fixer. You can reuse it. Ilford rates Rapid Fixer at 24 rolls of 135-36 per litre at 1+4. To check it, drop a snip of film leader into a little fixer and time how long it takes to turn clear. Fix your films for at least twice that clearing time. Replace the fixer when its clearing time is twice what it was when fresh.
- Wetting agent. Mix it fresh. Ilford gives a life of 7 working days for diluted Ilfotol.
- Labels. Mark every bottle with the chemical, the dilution and the date you mixed it. Do not use food containers or drink bottles, and do not use kitchen utensils for chemistry.
Work safely
Ilford recommends gloves, eye protection and an apron when you mix and handle any processing chemical. Work in a ventilated room, away from food. Keep chemicals out of the reach of children. Read the maker’s safety data sheet for each product before you use it, and follow your local rules when you dispose of used chemistry.
One bath instead of three
A monobath combines developer and fixer in one solution. You pour it in, agitate, pour it back into the bottle, and wash. You give up some control over contrast and film speed, and in return you get a short, simple process with few bottles. Monobath developers compared explains how they work and compares the ones you can buy.
How I do it. Most of the time, I develop my black and white film in CineStill’s Df96 monobath, and I follow the instructions on the packaging to the letter.
Scan and convert your negatives
When the film is dry, cut it into strips and store them in sleeves. To get photos out of the negatives, the fastest route is a digital camera with a macro lens over a light source. How to scan film with a camera covers the setup. Then you invert the scans into positives: convert black and white negatives explains how to set the end points and the contrast.
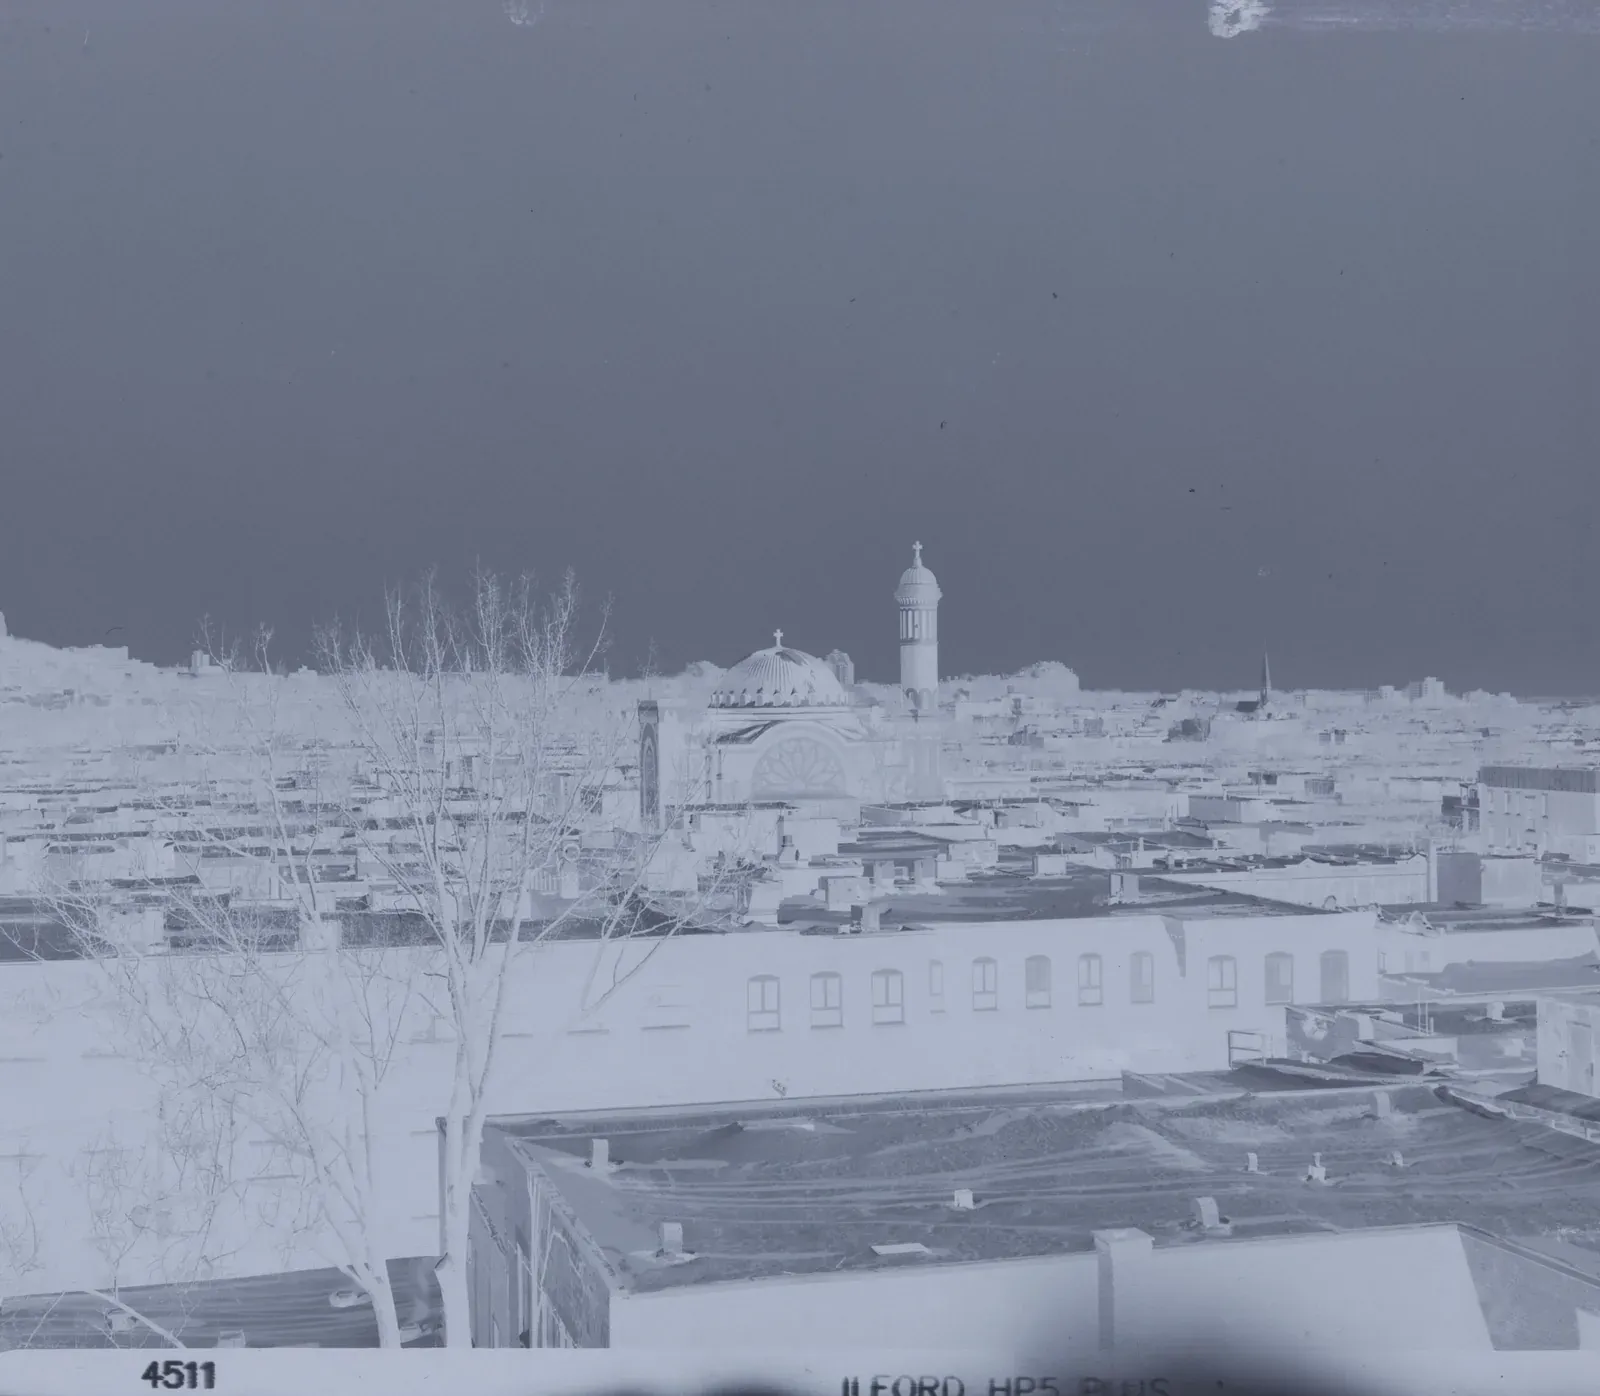 Negative
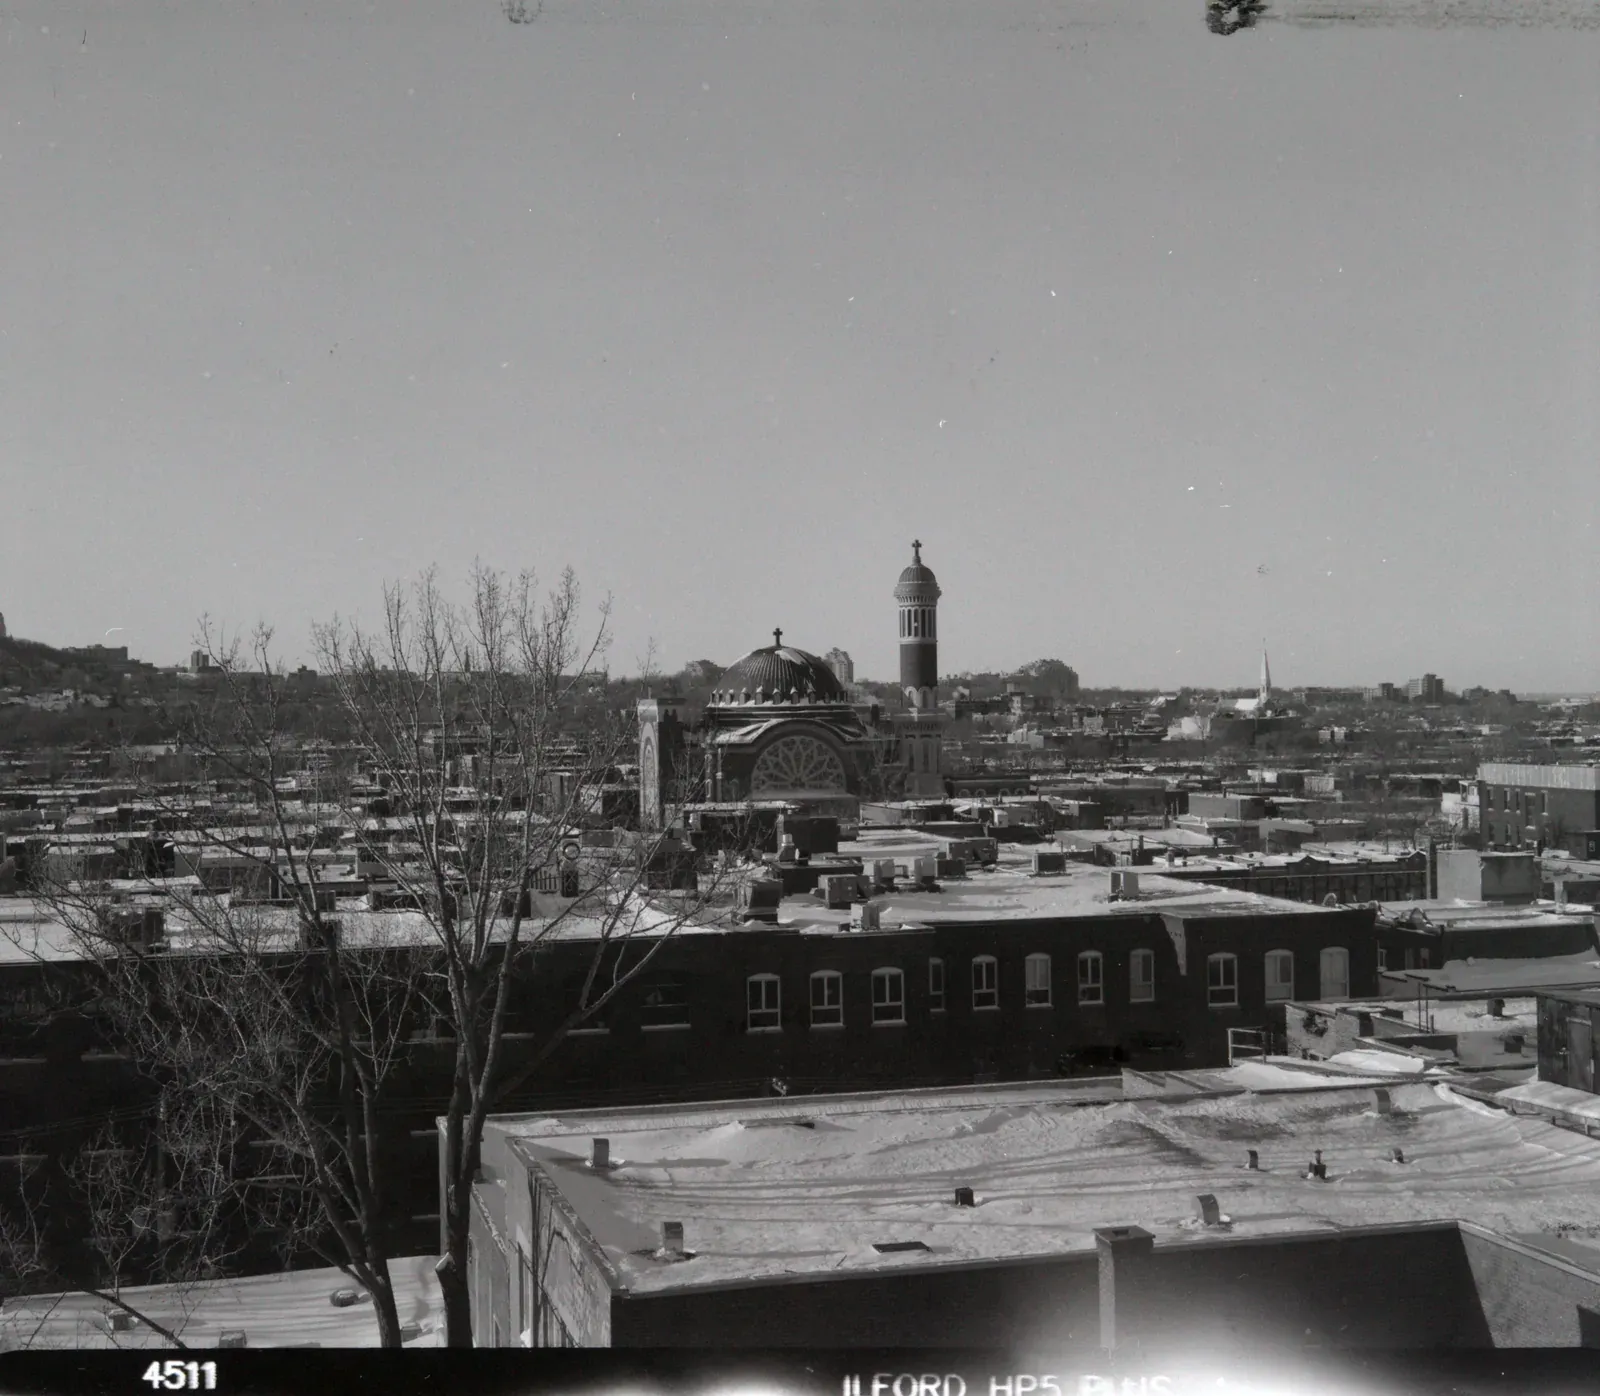 Converted
A frame of Ilford HP5 Plus on the light panel, and the photo it makes. To check your own development, read the film edge first: thin and dense negatives shows how.
Common problems
- Film completely clear, with no edge markings. The film was not developed: the developer was exhausted or wrongly mixed, or the fixer went in first.
- Clear frames, but readable edge markings. The processing worked; the film was not exposed. Check the camera.
- Film completely black. Light reached the film before fixing: a leak in the bag, a lid that was not closed, or a tank opened too early.
- Milky or purple-pink film base. The film is not fully fixed. Fix it again in fresh fixer, then wash it again. Some modern films leave a pink tint that washes out with a longer wash.
- Negatives too thin or too dense. Check exposure first, then time, temperature and dilution. Thin and dense negatives shows how to get the most from them when you scan.
- Streaks or uneven density. Usually agitation: too little, or too violent. Keep the same steady pattern.
- Small round spots of low density. Air bubbles stayed on the film. Tap the tank after each agitation.
- Crescent-shaped marks. The film was kinked while you loaded the reel.
- Water spots, dust and curl. See dust on film scans and flatten curly film.
Sources
- Ilford: Processing your first black and white film (information leaflet, copy hosted by the University of Wisconsin)
- Ilford: Rapid Fixer fact sheet (copy hosted by the University of Wisconsin)
- Ilford: Sundry chemicals fact sheet, with Ilfostop and Ilfotol (copy hosted by Maco)
- Kodak Alaris: Chemicals for Kodak Professional black-and-white films (E-103CF)
- Harman: Kentmere Monobath Film Developer data sheet (F26)