GuidesConvert negatives into photos
How to convert black and white negatives
To convert a black and white negative, invert it, set the black point at the clear film base and the white point at the densest highlight, then add a tone curve for contrast. If you scanned with a colour camera, first white balance on the film base and convert to greyscale, so that no tint stays. Use the same settings for the whole roll, so that dark and bright scenes keep their difference.
What you need
- A RAW file or a 16-bit TIFF of each frame, with a strip of clear film (the film base) in at least one frame.
- The same scan exposure, light and white balance for the whole roll.
- An editor with Levels and Curves, or a converter with a black and white mode.
Why black and white is simpler than colour
A black and white negative is a silver image on a clear base. It has no orange mask, and the three colour channels of your scan hold the same picture. So you need one black point, one white point and one curve, not three of each.
The hard part is not colour. It is contrast, and keeping a roll consistent. For the colour steps that you can skip here, see how to convert film negatives into photos.
Step 1: Remove the base tint
A colour camera sees more than silver. Most black and white film bases have a slight tint: grey, a little blue, or pink to purple from sensitizing dye that the wash did not fully remove. Your light source can add its own tint.
- In your RAW converter, white balance on the clear film base. The tint goes neutral.
- Convert to greyscale. Use an even mix of the channels, or try the green channel alone. On most camera sensors, half the pixels are green, so the green channel often has the most detail and the least noise. Compare both at 100% and keep the cleaner one.
- Keep the file in 16-bit.
Do this before you invert. Then the rest of the work is on one grey channel, and no tint can come back.
Step 2: Invert
Invert the picture. In Photoshop, use Layer > New Adjustment Layer > Invert, so that you can change it later. The clear film base becomes the darkest part, and the densest parts of the negative become the brightest.
The result is correct but flat and grey. That is normal. Black and white film is developed to a low contrast on purpose, and in the darkroom the paper adds the contrast back.
 1 · Scan
 2 · Plain invert
 3 · Finished
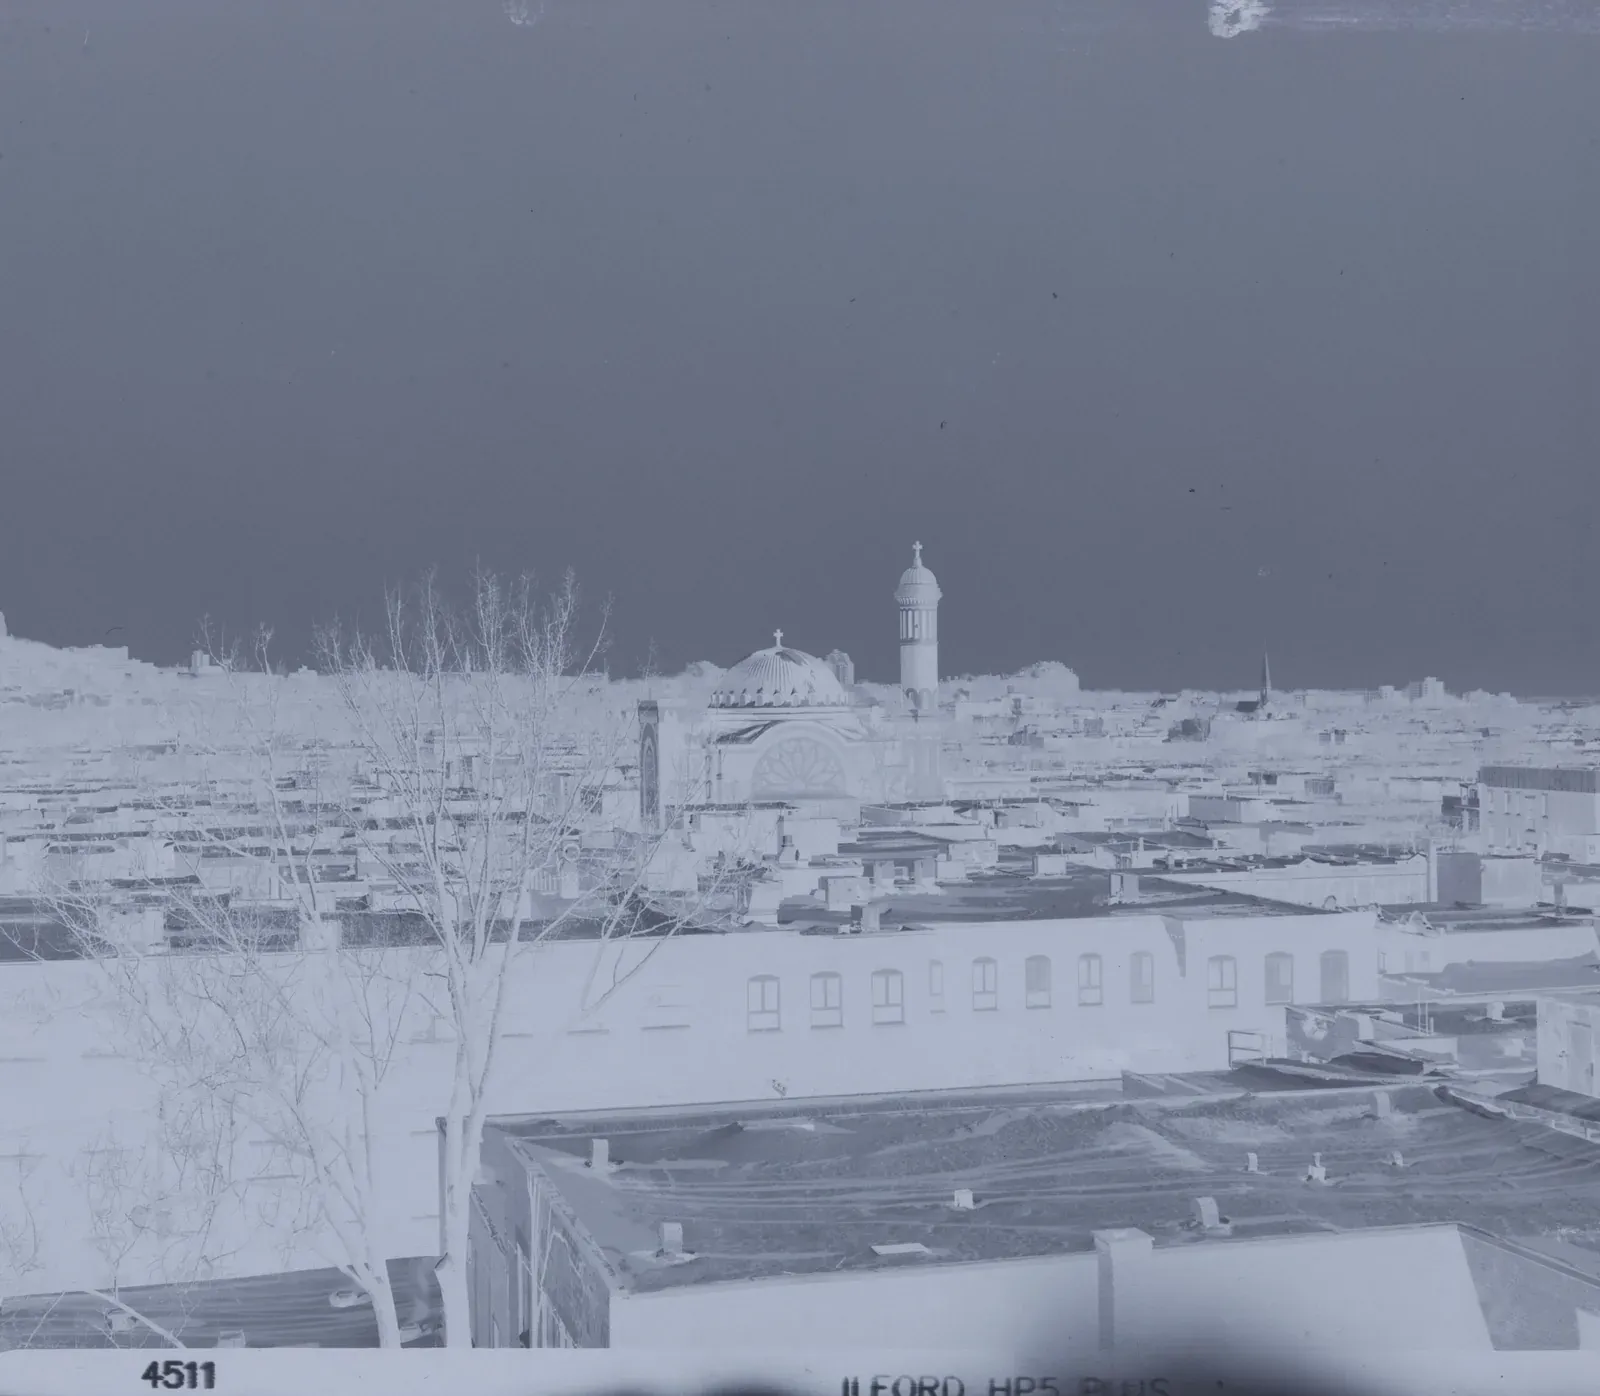
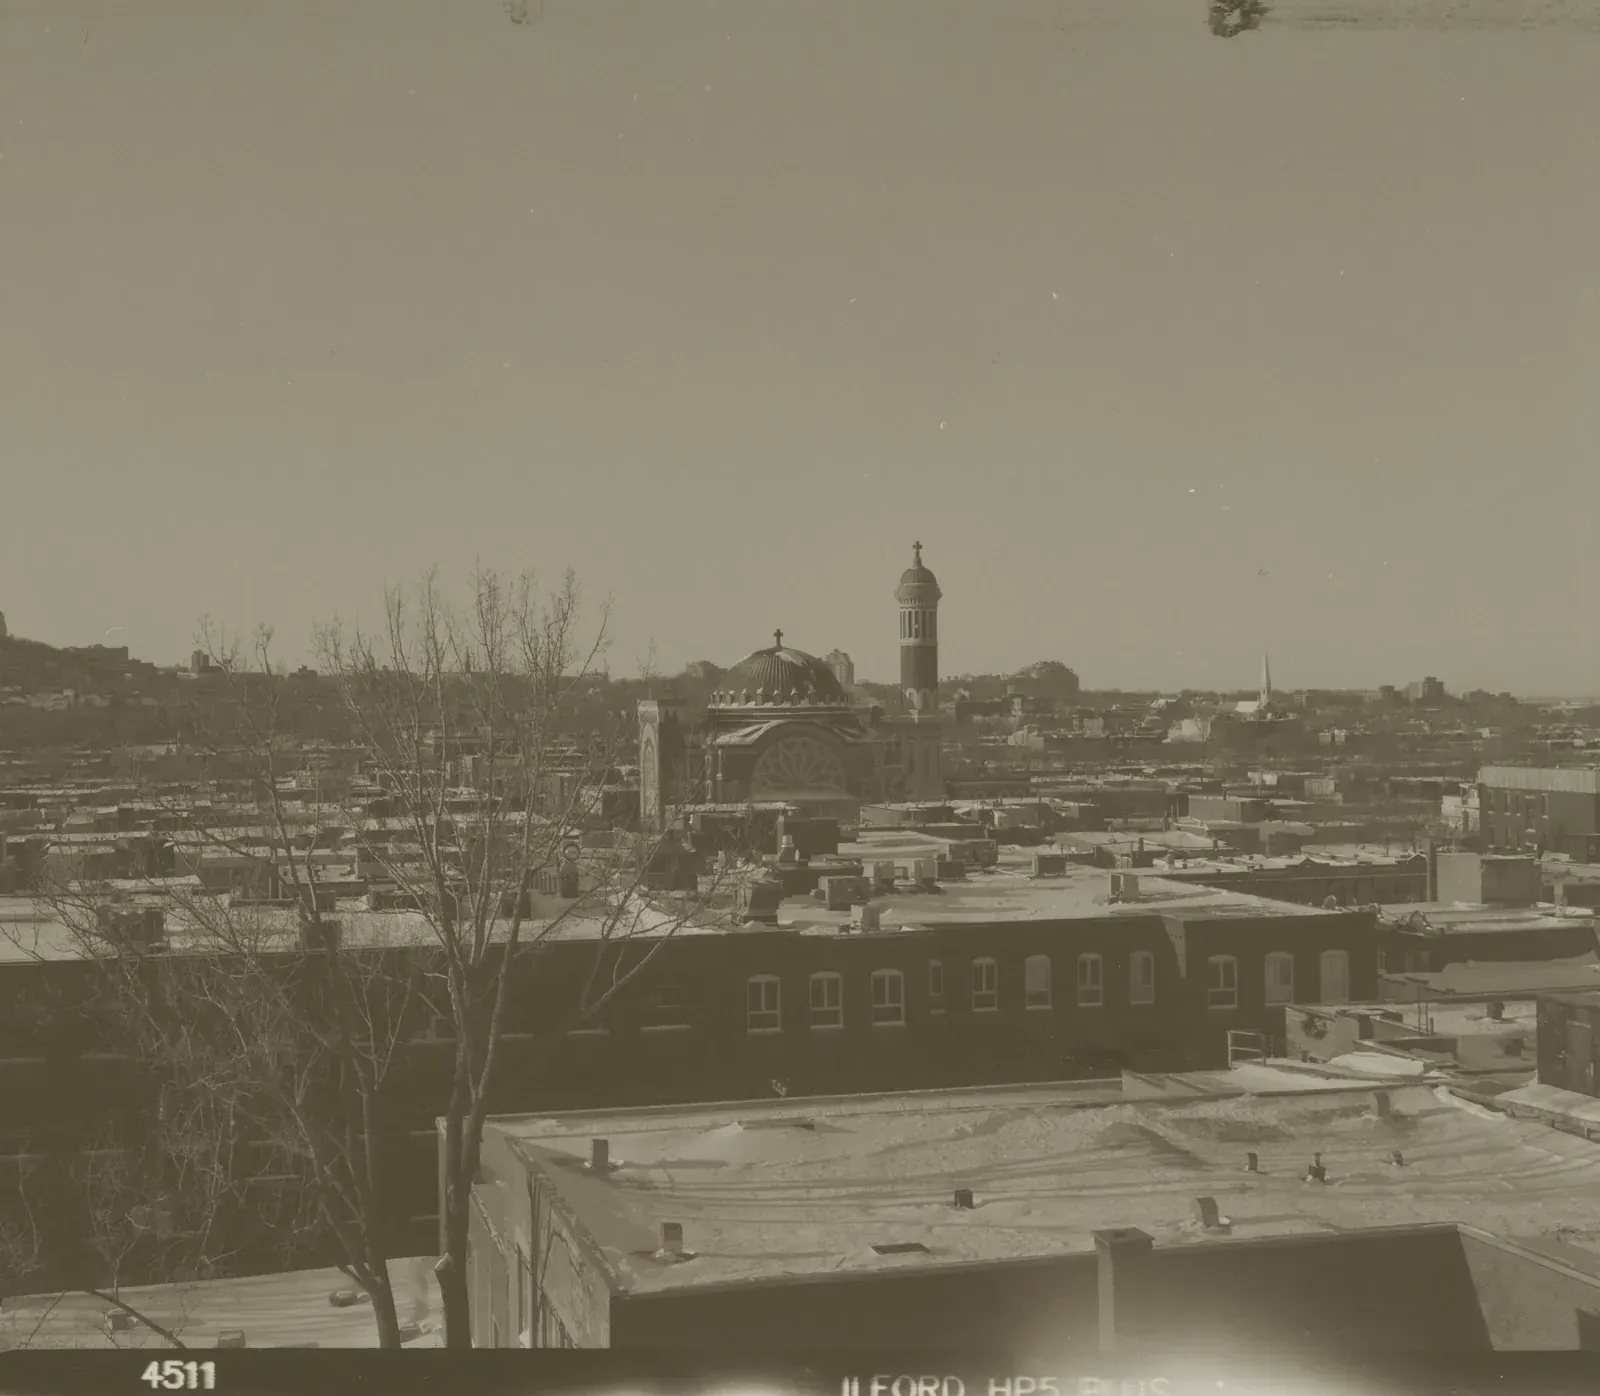
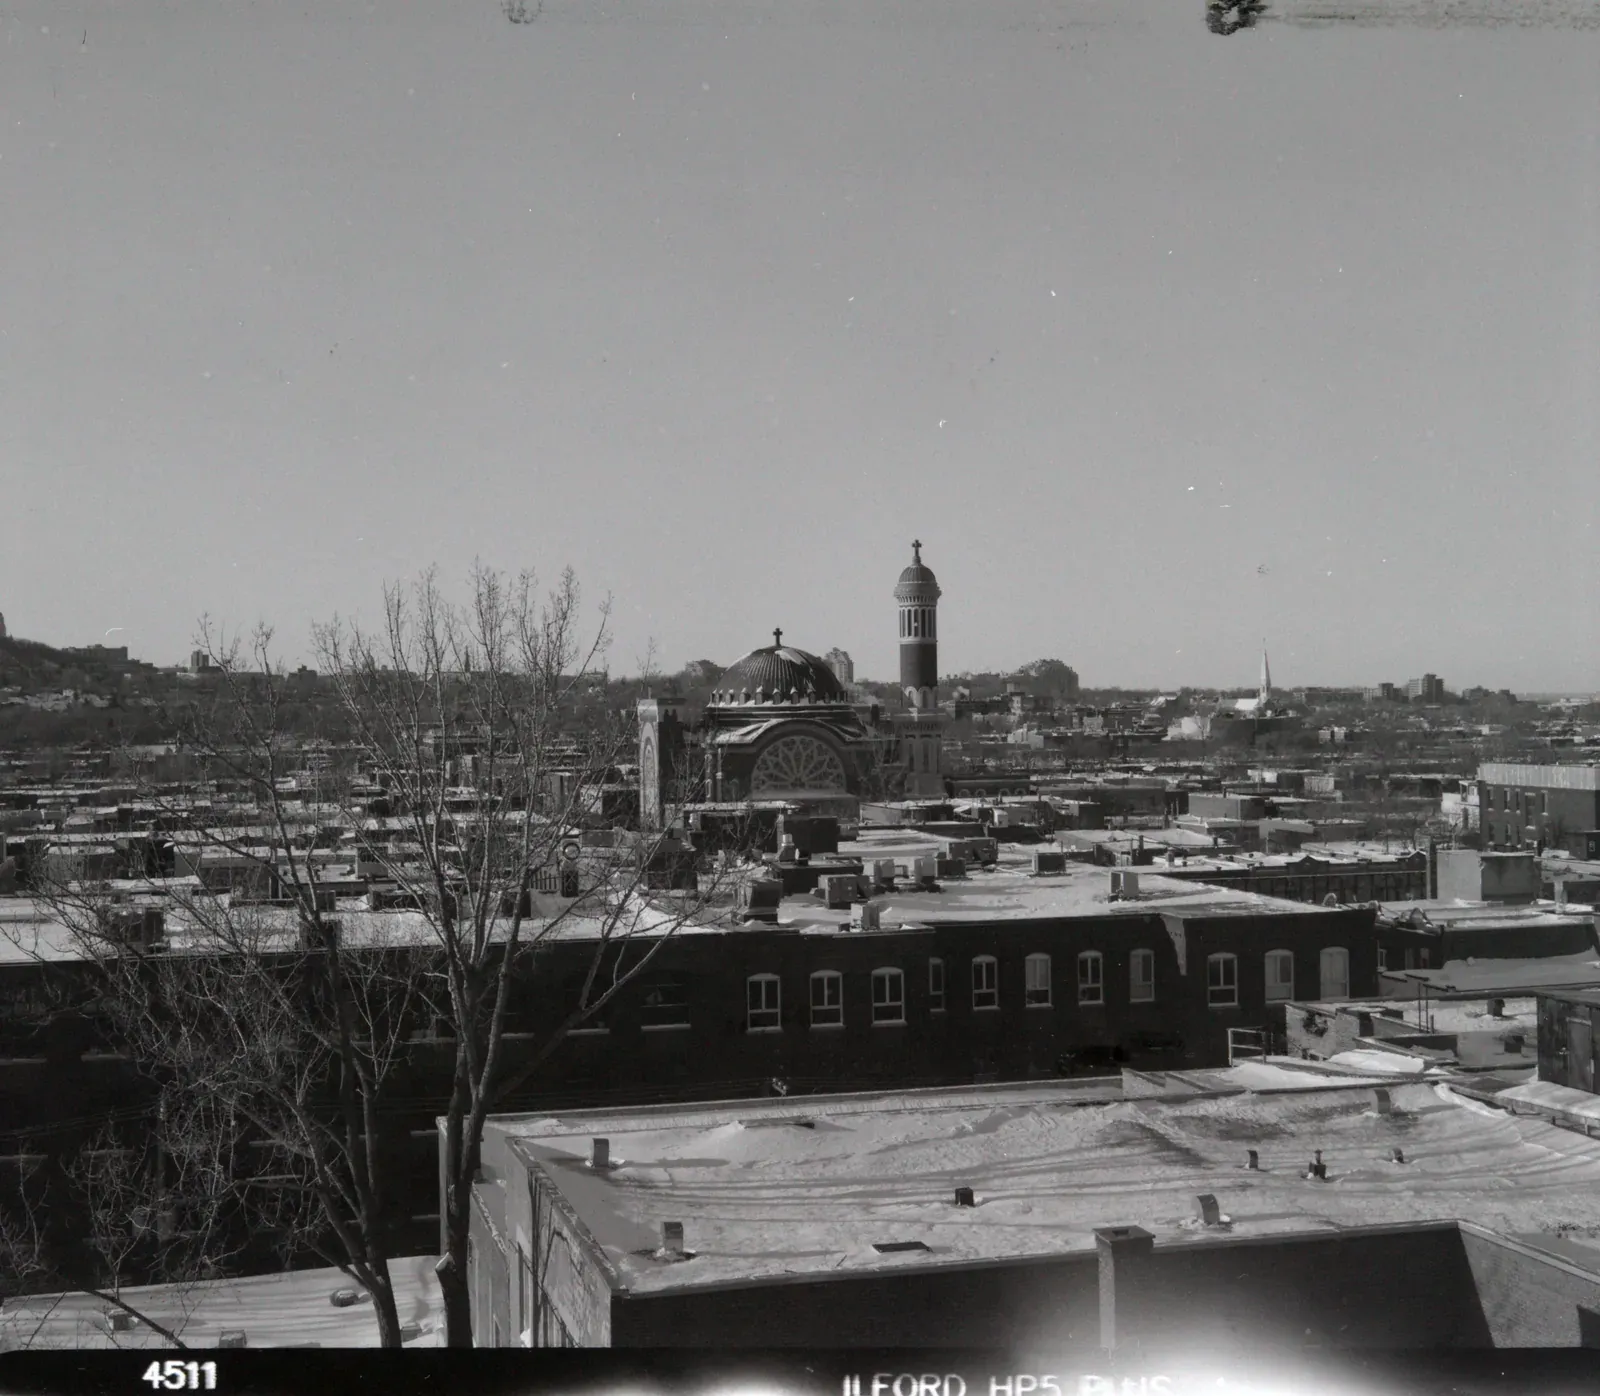
One frame of Ilford HP5 Plus, scanned with a colour camera. The film base has a blue tint, so a plain invert comes out flat and brown. The finished frame was converted in Monobath with Latitude 400, a flat profile: the tint is gone, and the end points are set.
Step 3: Set the end points
Black point: the clear film base. In the darkroom, you find the shortest print time that makes the clear film print as full black. Setting the black point at the value of the film base is the digital version of that test. Every shadow that has any density keeps its detail.
White point: the densest highlight that must keep texture, such as a white wall or bright clouds. Do not use a specular reflection or a bare light bulb. They can go to pure white.
In Levels, hold Option and drag each input slider to see where clipping starts, then move back a little. If the picture has no deep shadows, it will look soft after this step. That is what the negative holds. Add depth with the curve in the next step, not by clipping the shadows.
Step 4: Add a tone curve
The tone curve does the job of the paper grade. A curve with a toe in the shadows and a shoulder in the highlights gives the look of a print.
| Your negative | The curve to start with |
|---|---|
| Normal | A gentle S-curve |
| Thin or flat (low contrast) | A steeper S-curve, like a harder paper grade |
| Dense or contrasty | A softer curve that keeps the highlights, like a softer paper grade |
You can also start flat, with almost no curve, and grade each picture by hand later. This keeps every tone available, at the cost of more work per frame.
If your negatives are often too flat or too contrasty, the fix starts in development. See how to develop black and white film at home.
Keep a whole roll consistent
A roll converted frame by frame with auto settings does not look like a roll. Auto stretches every frame to the full range. A grey morning gets the contrast of a sunny noon, and a night street turns grey. On a contact sheet printed at one time, those frames look different, as they should.
To keep the roll together:
- Scan every frame with the same manual exposure, the same light and the same white balance.
- Measure the film base once and use that value as the black point for every frame.
- Set the white point and the curve on one normal frame.
- Copy the settings to all frames.
- Adjust only brightness, frame by frame, the way you would change the print time.
The differences that remain are real. They come from exposure in the camera, and they are part of the roll.
Black and white from colour negatives
You can make a black and white picture from a colour negative. Convert the colour negative first, with the orange mask removed and points set per channel. Then convert to black and white with a channel mix. Converting first gives you clean colour channels to mix.
The mix works like a colour filter on black and white film:
- More red: blue skies go darker and skin gets lighter, like a red or orange filter.
- More green: foliage gets lighter, like a green filter.
- More blue: skies go lighter and skin and reds go darker.
The grain looks different from silver grain, because a colour negative’s image is made of dye clouds. Ilford XP2 Super is also a dye-based black and white film that you develop in C-41. It has no orange mask, so convert it as a black and white negative, as in steps 1 to 4.
Common problems
- A slight colour tint in the result: the file is still RGB. White balance on the base and convert to greyscale before you invert, as in step 1.
- Flat, grey pictures: add more curve, or set the white point lower. See why film scans look flat.
- Blocked highlights or empty shadows: the negative may be dense (overexposed or overdeveloped) or thin (underexposed). See thin and dense negatives.
- Dust and scratches: they show more on black and white, because infrared dust removal does not work on silver film. See dust on film scans.
- Rings or patterns in even areas: these are Newton rings from glass touching the film. See Newton rings when scanning film.