 monobath
How to develop film at home
To develop film at home, you load it onto a reel in a light-tight tank, inside a changing bag. Then, in normal room light, you pour a series of chemicals into the tank, wash the film and hang it to dry. You do not need a darkroom. Start with black and white film: it develops at about 20 °C, and the same tank works for colour later.
Which film to develop first
Every film goes through the same tank. What changes is the chemistry, the number of baths and how tightly you must hold the temperature.
| Process | Film | Baths | Temperature | Tolerance |
|---|---|---|---|---|
| Black and white | Black and white negative | Developer, stop, fixer | About 20 °C | Data sheets convert the time for other temperatures |
| Monobath | Black and white negative | One | Room temperature, about 20 to 24 °C | The time is a minimum; extra time does not add development |
| C-41 | Colour negative | 2 to 4, depending on the kit | About 38 °C | About ± 1 °C for the developer |
| E-6 | Colour slide | 3 to 6, plus a final rinse | 38 °C | ± 0.3 °C for the first developer, in Kodak’s kit |
Start with black and white. It needs no water bath, a degree or two off changes the result only a little, and its chemistry is the mildest. It is also where you learn the one hard skill: loading a reel in the dark. How to develop black and white film at home takes you through it, step by step.
Then colour negative. The C-41 steps are no harder than black and white. The difference is temperature: the developer must stay within about 1 °C of its target.
Leave slide film for last. E-6 has the most steps and the tightest temperature, and the slide is the final image, so a processing error is harder to correct in the scan.
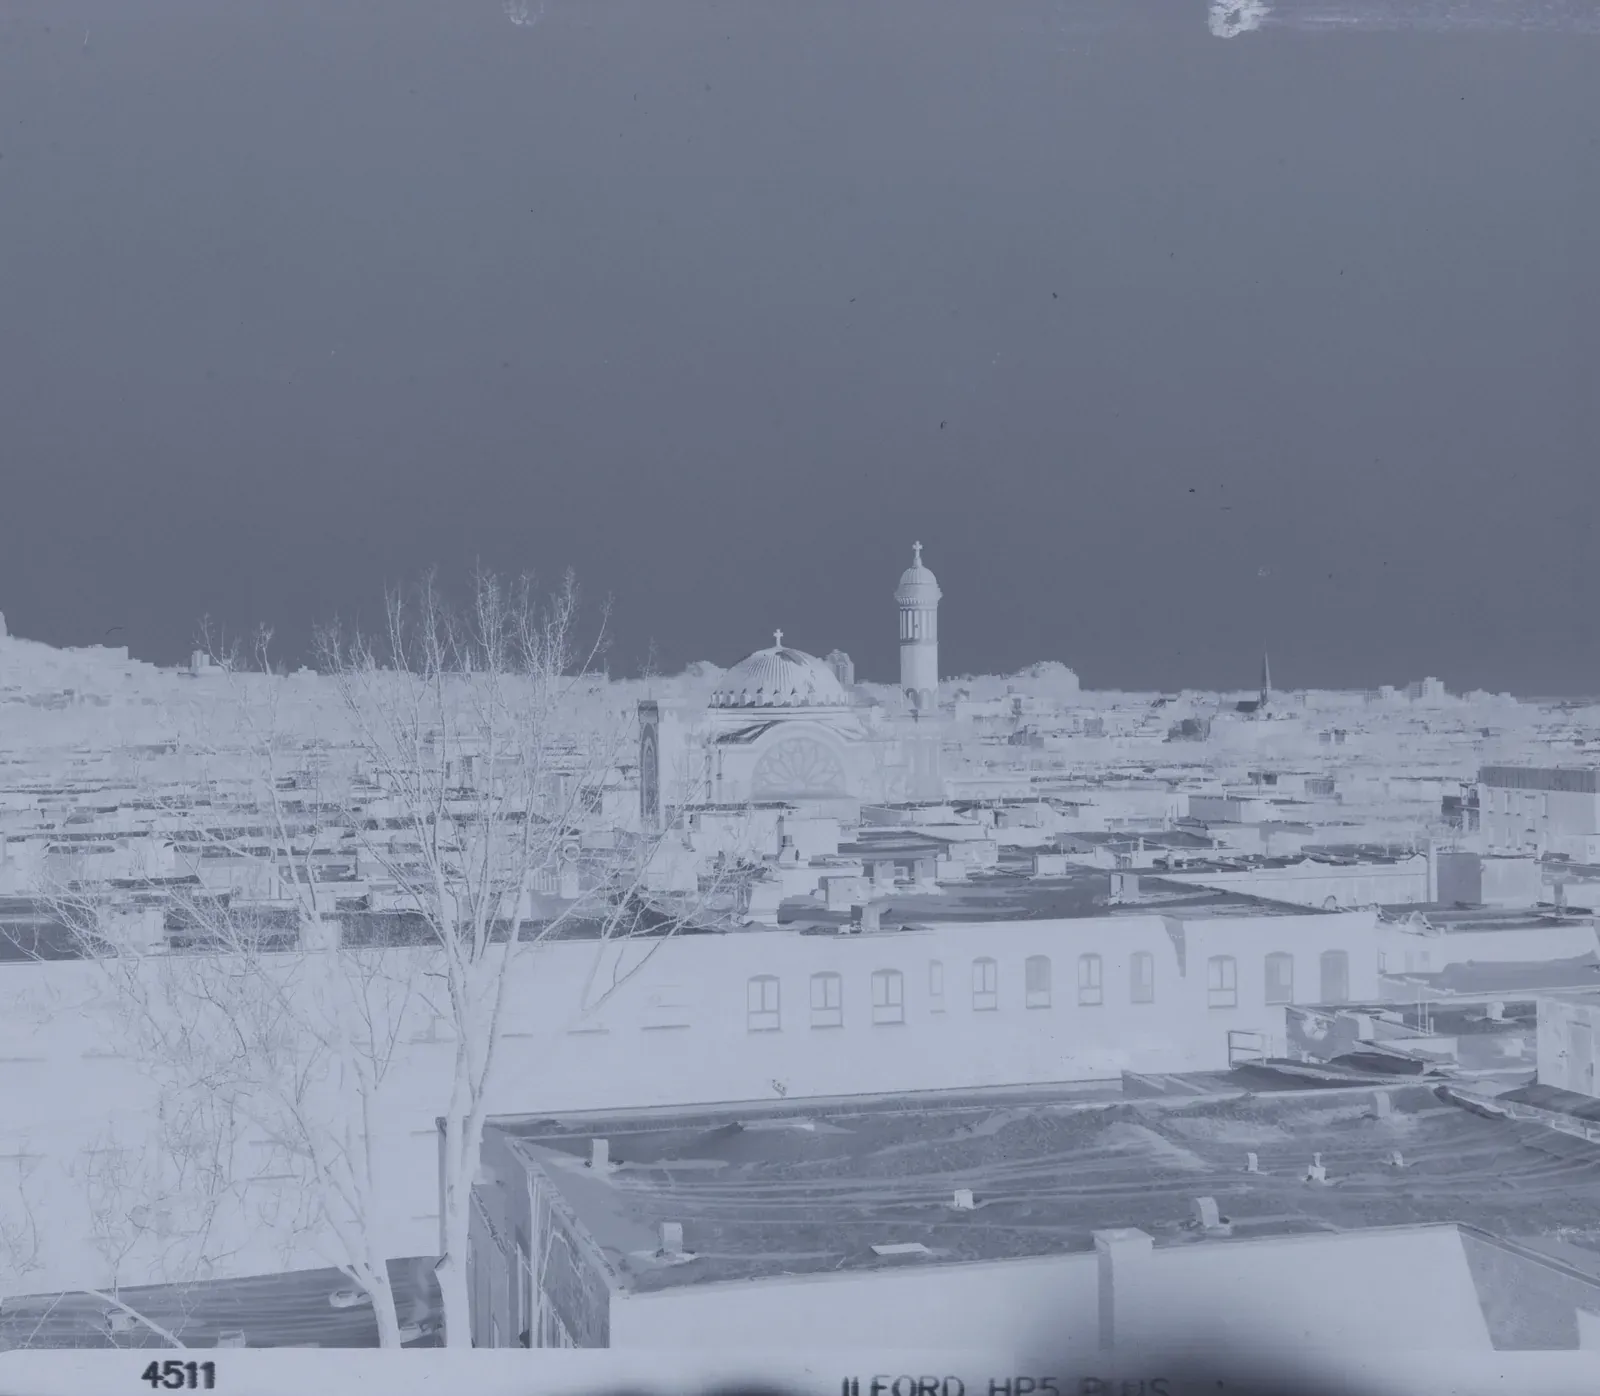 Black and white
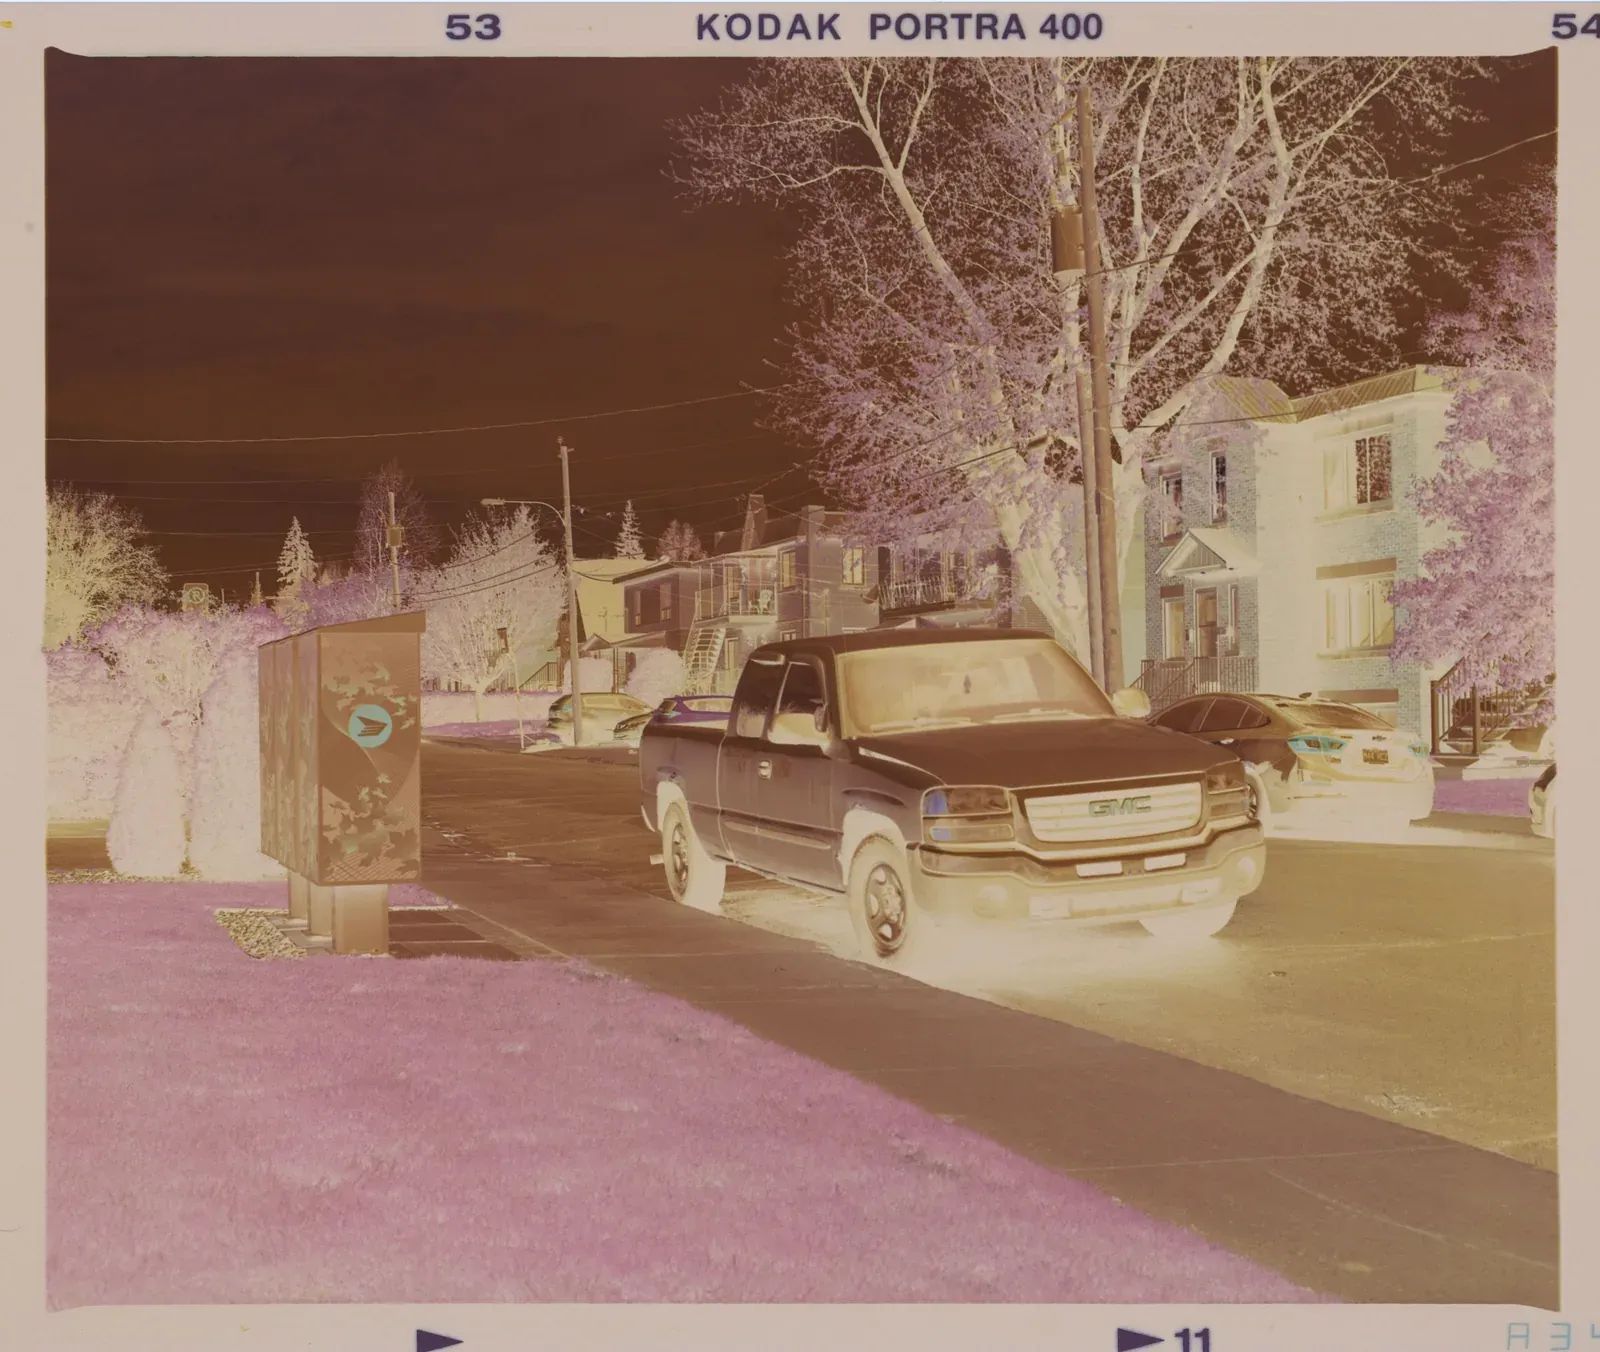 Colour negative
A black and white negative (Ilford HP5 Plus) and a colour negative (Kodak Portra 400) on a light panel. The orange base of the colour film is its mask, which the conversion removes.
What you need
The core kit is the same for every process:
- A developing tank with reels. Plastic reels with an adjustable width take both 35mm and 120.
- A changing bag, or a room you can black out completely.
- An accurate thermometer. The developer temperature is the number that matters most.
- Measuring cylinders, a funnel and a timer.
- Bottles with clear labels, one per chemical.
- A cassette opener and scissors for 35mm.
- Film clips: one for the top and a weighted one for the bottom of each strip.
- Gloves, eye protection and an apron.
- A wetting agent for the final rinse, and distilled water if your tap water is hard.
Then the chemistry for your process: a developer, a stop bath and a fixer for black and white, or a single monobath; a C-41 or E-6 kit for colour. Colour also needs a water bath that holds its temperature. A large container of water with a sous vide stick does that well.
Ilford and Paterson sell black and white starter kits with a tank, cylinders and the chemicals, so you do not have to buy the pieces one by one.
The steps every film shares
- Load the reel in the dark. In the changing bag, wind the film onto the reel, put it in the tank and close the lid. This is the only step in the dark. Practise first in daylight with a scrap roll. Load the reel in a changing bag shows how for 35mm and 120.
- Bring the chemistry to temperature. About 20 °C for black and white. About 38 °C for C-41 and E-6, with the bottles standing in the water bath. Measure inside the bottle, not in the bath.
- Develop. Pour in the developer, start the timer and agitate on a fixed pattern. The time comes from the film’s data sheet or the kit’s instructions.
- Stop and fix, or bleach and fix. Black and white film goes into a stop bath, then a fixer. Colour film goes into a bleach and a fixer, or a combined bleach-fix. Slide film has a reversal step and a colour developer before them.
- Wash in running water, or with several fills and drains.
- Rinse in water with a wetting agent, so the film dries without marks.
- Dry. Hang the film with a weighted clip at the bottom, in a still, dust-free place. Dry film without water spots covers this step.
Temperature and agitation together set how far the film develops. Use the time that goes with your temperature and your agitation pattern, and keep both the same from roll to roll.
Black and white
Black and white film uses three baths: a developer, a stop bath and a fixer, all at about 20 °C. You can work at other temperatures, because the data sheets include a chart that converts the time.
Development times come from the developer data sheet, the film data sheet, or the Massive Dev Chart, a free database of film and developer times. Treat any time as a starting point. If your negatives come out too dense, shorten the time on the next roll; if they come out thin and the exposure was right, lengthen it.
The full process, with the agitation, the reuse of each bath and push processing, is in how to develop black and white film at home.
One bath: a monobath
A monobath is a black and white developer and fixer in one solution. You pour it in, agitate for a few minutes, pour it back into the bottle and wash the film. CineStill Df96 and Kentmere Monobath both work at room temperature and process about 16 rolls per litre. In return, you give up some control over contrast and film speed.
How I do it. Most of the time, I develop my black and white film in CineStill’s Df96 monobath, and I follow the instructions on the packaging to the letter.
Monobath developers compared explains how they work and compares the ones you can buy.
Colour negative (C-41)
A C-41 kit has a colour developer at about 38 °C, then a bleach and a fixer, or one combined bleach-fix, a wash and a final rinse. Two-bath kits such as CineStill Cs41 and Adox C-TEC 41 combine the bleach and the fixer. If 38 °C is hard to hold, Adox also gives times for 30 °C.
Colour film has three layers, one per colour, and a temperature error does not develop them equally. You get colour shifts as well as density changes. After the developer step, temperature matters much less.
How I do it. I develop C-41 at home with an Argentix C-41 kit. A sous vide circulator heats the water, and insulated containers keep my chemicals at temperature.
The kits, the steps and their times are in how to develop colour film (C-41) at home.
Slide film (E-6)
Slide film needs an E-6 kit. A first developer makes a black and white negative image, a reversal bath and a colour developer make the positive colour image, and a bleach and a fixer clear away the silver. The first developer sets the brightness of every slide, so it needs the tightest control: Kodak’s kit asks for 38.0 °C, plus or minus 0.3 °C.
Full kits follow the same six baths as a lab. Three-bath kits combine steps, so the process is shorter. How to develop slide film (E-6) at home compares them and lists the steps.
Work safely
Wear gloves, eye protection and an apron when you mix and handle any processing chemical, and work in a ventilated room, away from food. Colour chemistry is harsher than black and white: CineStill’s own safety notes say one part of its C-41 developer may cause severe skin burns. Never use kitchen equipment for chemistry. Read the maker’s safety data sheet for each product before you use it, and follow your local rules when you dispose of used chemistry.
Common problems on a first roll
- Film completely clear, with no edge markings. The film was not developed: the developer was exhausted or wrongly mixed, or the fixer went in first.
- Clear frames, but readable edge markings. The processing worked; the film was not exposed. Check the camera.
- Film completely black. Light reached the film before fixing: a leak in the bag, a lid that was not closed, or a tank opened too early.
- Milky film base. The film is not fully fixed. Fix it again in fresh fixer, then wash it again.
- A brownish mask, or colour negatives that look magenta. The bleach or fixer step was too short or exhausted.
- Negatives too thin or too dense. Check exposure first, then time and temperature. Thin and dense negatives shows how to read the film edge.
After development: scan and convert
When the film is dry, cut it into strips and store it in sleeves. When you develop at home, there is no lab scan, so the last steps are yours too. Photograph each frame with a digital camera and a macro lens over a light source: how to scan film with a camera covers the setup. Then turn the scans into photos: convert film negatives explains how.
Sources
- Ilford: Processing your first black and white film (information leaflet, copy hosted by the University of Wisconsin)
- CineStill: Df96 monobath product page
- Harman: Kentmere Monobath Film Developer data sheet, F26 (PDF)
- Adox: C-TEC 41 user manual (PDF)
- Kodak: C-41 film processing kit instructions (PDF)
- Kodak: Color Reversal E-6 slide processing kit user manual (PDF)